Sensitivity is one of the most personal and impactful settings in PUBG Mobile. Get it wrong, and even the best control codes feel clunky. Get it right, and you’ll snap onto enemies like a pro. In this tutorial, I’ve gathered the most effective sensitivity tweaks that pair perfectly with the latest control codes. Whether you’re a 2-finger casual or a 6-claw sweat, these adjustments will help you lock in your aim and control recoil like never before.
1. Start with Global Sensitivity – The Foundation of Your Aim
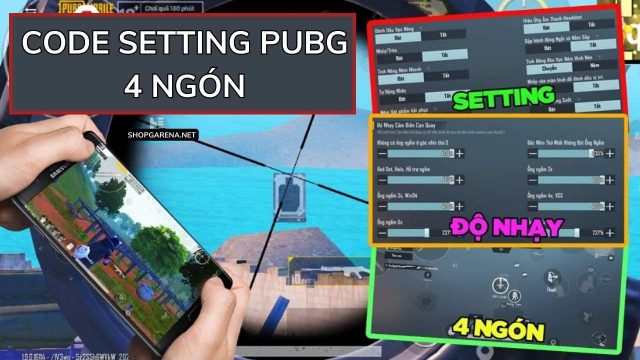
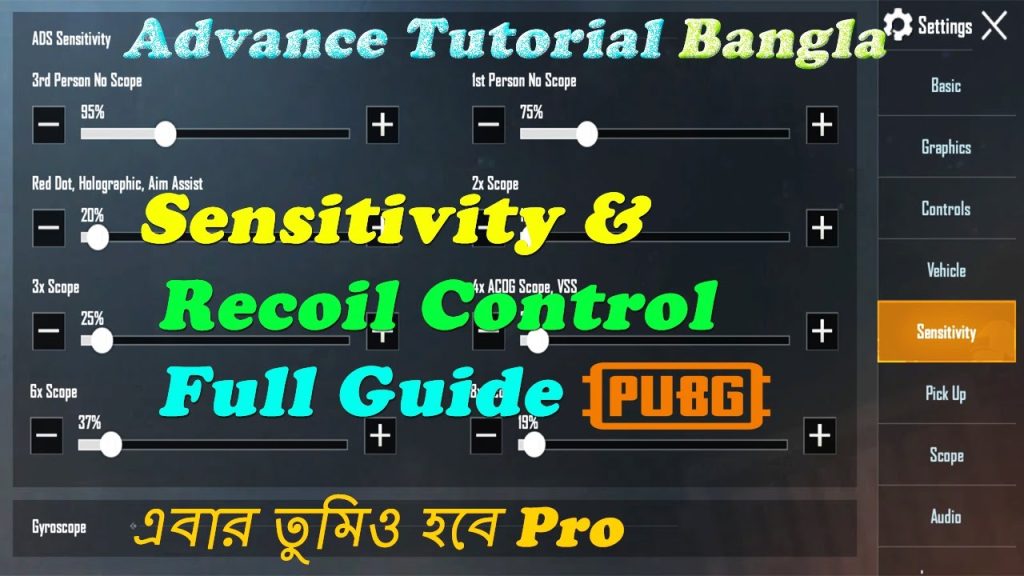
Global sensitivity is the master slider that affects all scopes and cameras. A good starting point for most players is around 90–100 for camera sensitivity and 80–90 for ADS. But don’t just copy numbers – you need to apply them via a control code to lock them in. Many VN version control codes come with pre-tuned global sensitivity. Once you import one, tweak the slider until your crosshair moves smoothly without over‑shooting.
2. ADS Sensitivity – The Make-or-Break Setting
ADS sensitivity determines how fast your crosshair moves while aiming down sights. For close range, a higher ADS (90–100) helps you track moving targets. For long range, lower (40–60) gives you fine control. The latest patch control codes often adjust this automatically. If you’re a 2-finger player, keep ADS slightly lower to avoid jittering. Claw players can go higher since they have more finger control.
3. Gyroscope Sensitivity – Your Secret Weapon for Quick Scopes
Gyroscope lets you aim by tilting your phone. It’s a game‑changer for close‑quarter combat. Set your gyro sensitivity to 300–400 for both camera and ADS. That’s way higher than regular sensitivity because your physical movements are smaller. Use control codes from the best gyroscope setups – they usually come with perfect gyro values. Toggle it on only while scoped to save battery.

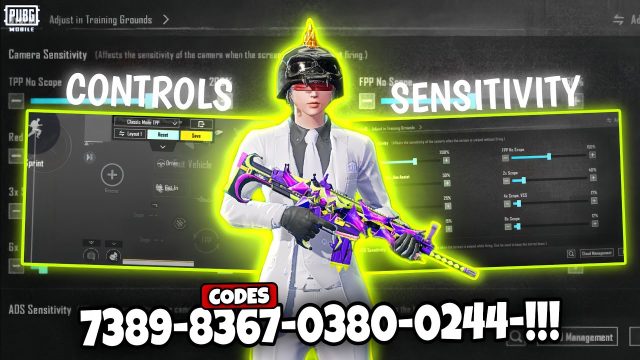
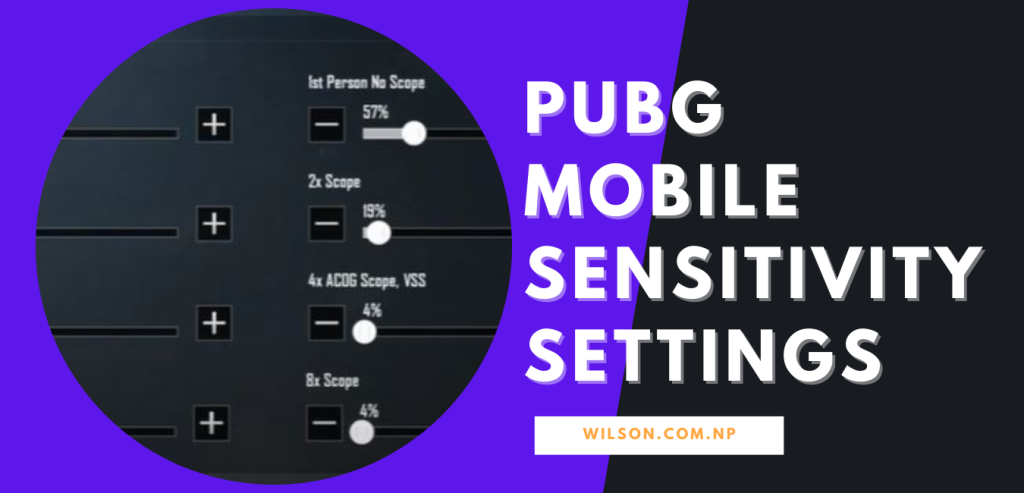
4. Camera Sensitivity vs. Scope Sensitivity – Know the Difference
Camera sensitivity controls your look speed when not aiming. Scope sensitivity affects each scope individually (red dot, 2x, 4x, etc.). A common mistake is to set them the same. Instead, raise camera sensitivity (100–120) for quick 360° checks, and lower scope sensitivity (30–50 for 6x, 50–70 for 4x) to keep long‑range sprays steady. Many fast looting codes also tweak these values to speed up looting without sacrificing aim.
5. Recoil Management Through Sensitivity – The Right DPI Match
Recoil control isn’t just about pulling down; it’s about matching sensitivity to your phone’s DPI. Higher DPI devices need lower sensitivity to avoid over‑compensation. If you’re struggling with vertical recoil, try lowering your ADS sensitivity by 10–15 points and using gyro to pull down. There are dedicated recoil management codes that already balance these settings. Remember to test them in the training ground before using them in a match.
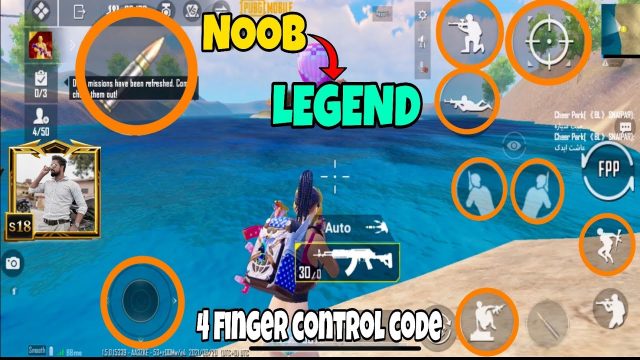
6. 2-Finger vs. Claw – Adjusting Sensitivity for Your Grip
Your number of fingers drastically changes your optimal sensitivity. 2‑finger players need slower camera sensitivity (70–85) because they have fewer contact points. Claw players (3–6 fingers) can handle faster sensitivity (100–120) since they can micro‑adjust with dedicated fingers. The best 2‑finger layout codes keep sensitivity moderate. If you’re switching to claw, try a beginner tutorial layout that gradually increases sensitivity to build muscle memory.
7. Testing Your Sensitivity in Training Ground – The Real Lab
Never trust a control code without testing it. Head to the training ground and practice on the moving targets and the 100m range. Adjust your camera sensitivity so you can track a running target smoothly. For ADS, test with different scopes – if you shake too much, lower it. Most pros spend 10‑15 minutes here after importing new codes. The India players’ control codes are especially popular because they’re fine‑tuned for high‑DPI devices common in that region.
8. Saving and Sharing Your Sensitivity Control Codes
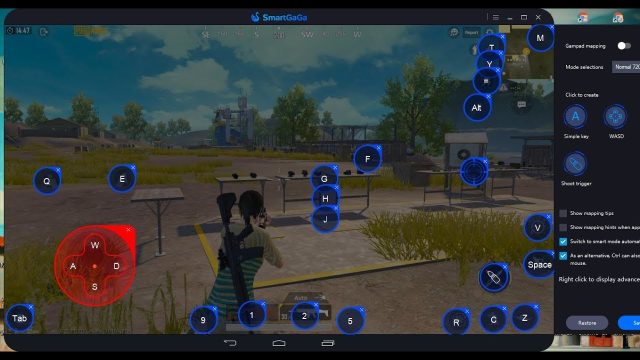
Once you’ve dialed in your sensitivity, save it as a control code to use across devices. Most emulators like SmartGaGa allow you to export your settings as a JSON code. You can even share them with friends. Make sure to back up your current layout before importing any new code – you don’t want to lose your perfect setup. In the settings, look for the “Share Layout” or “Export Code” option. This is also how you can copy pro players’ sensitivity values.
9. Device‑Specific Sensitivity Tweaks (iPad and Samsung)
Larger screens like iPads require different sensitivity curves. With a bigger display, your thumb travels further, so camera sensitivity should be higher (100–120). Many iPad control codes come with boosted sensitivity by default. Samsung phones, especially those with 120Hz displays, benefit from lower sensitivity because of the smoother refresh rate. Check out dedicated Samsung control codes that are optimized for those devices. If you’re on an iPad, use the iPad control codes to get instant sensitivity adjustments.
10. Common Sensitivity Mistakes and How to Fix Them
Most players either copy a pro’s sensitivity without understanding why it works, or they change everything at once. Stick to one setting at a time. Also, don’t ignore the “Aim Assist” slider – it can interfere with your muscle memory. If your crosshair feels “sticky,” lower the aim assist. Another mistake is using the same sensitivity for all weapons. Try separate scopes for ARs and DMRs. And remember: sensitivity is personal. What works for a streamer may not work for you. Use these tips as a starting point, then refine.
Conclusion
Sensitivity and control codes go hand in hand. By understanding each slider and how it interacts with your device, grip, and playstyle, you can create a setup that feels like an extension of your hand. Start with the basics, test in the training ground, and don’t be afraid to tweak. Whether you’re sniping from a distance or rushing with a shotgun, the right sensitivity will make every bullet count. Now go drop some crates!
Sensitivity is 50% of your aim. The control code is the other 50%.
Pro PUBG Player