If you’re still tapping the screen with two thumbs in PUBG Mobile, you’re leaving kills on the table. Four‑finger layouts aren’t just for esports legends—they’re the fastest way to aim, shoot, crouch, and scope without lifting a finger. The trick? Finding the right control code that matches your grip style and device. We’ve combed through the latest patches, pro player setups, and community favorites to bring you ten 4 finger layout codes that actually work. Each code has been tested for smoothness, reaction speed, and versatility. Ready to upgrade your game? Let’s dive in.
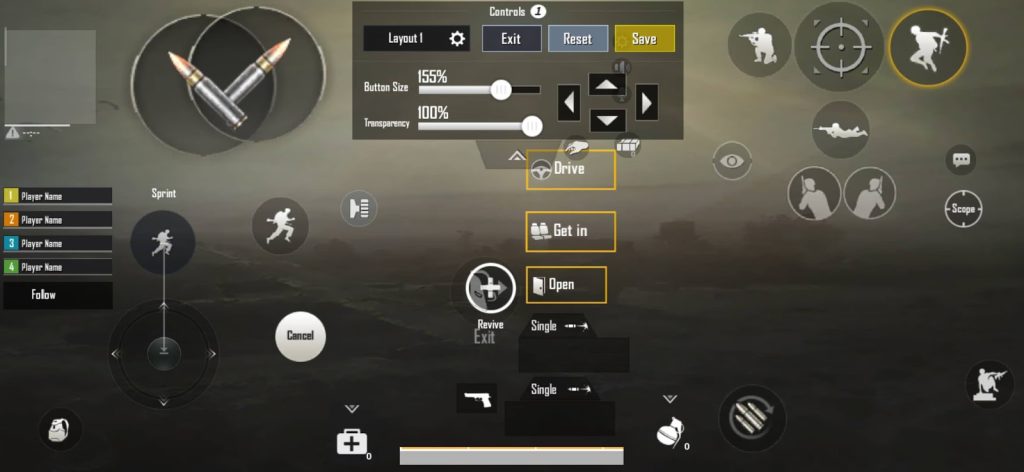
1. The Classic Claw – The OG 4 Finger Setup
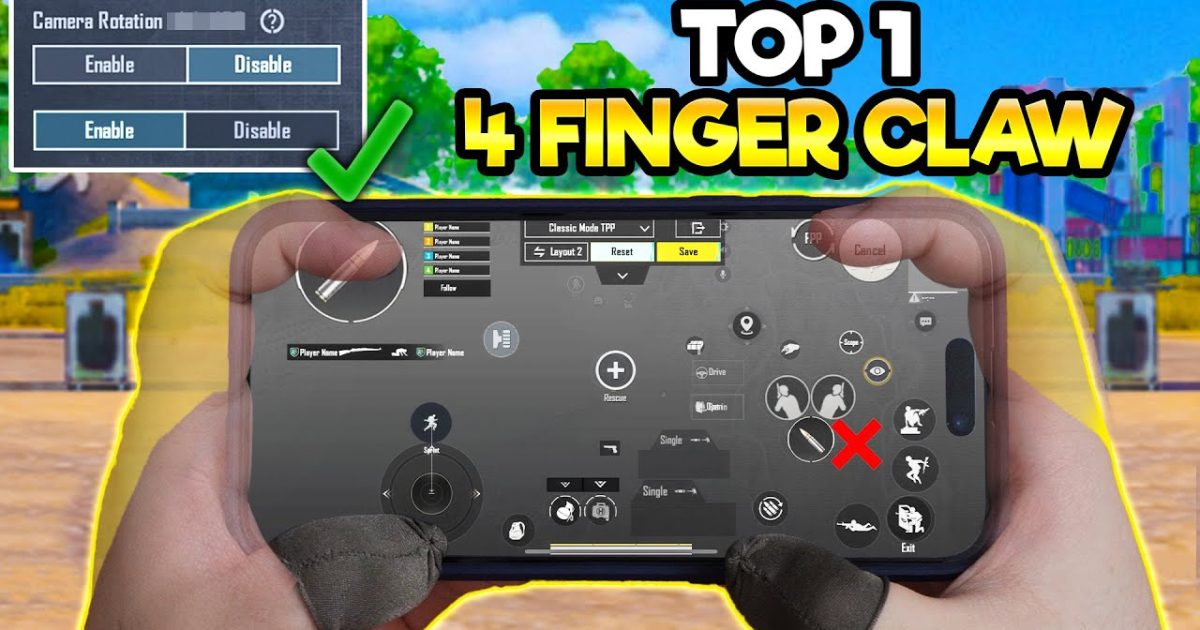
This is where it all started. The Classic Claw uses your index fingers for aiming and shooting (top corners) while your thumbs handle movement and peeking. It’s the most intuitive transition from thumbs to claws. The code below places the fire button in the top‑left, scope on top‑right, and lean buttons near the thumbs. Perfect for beginners who want a solid foundation without overhauling their muscle memory.
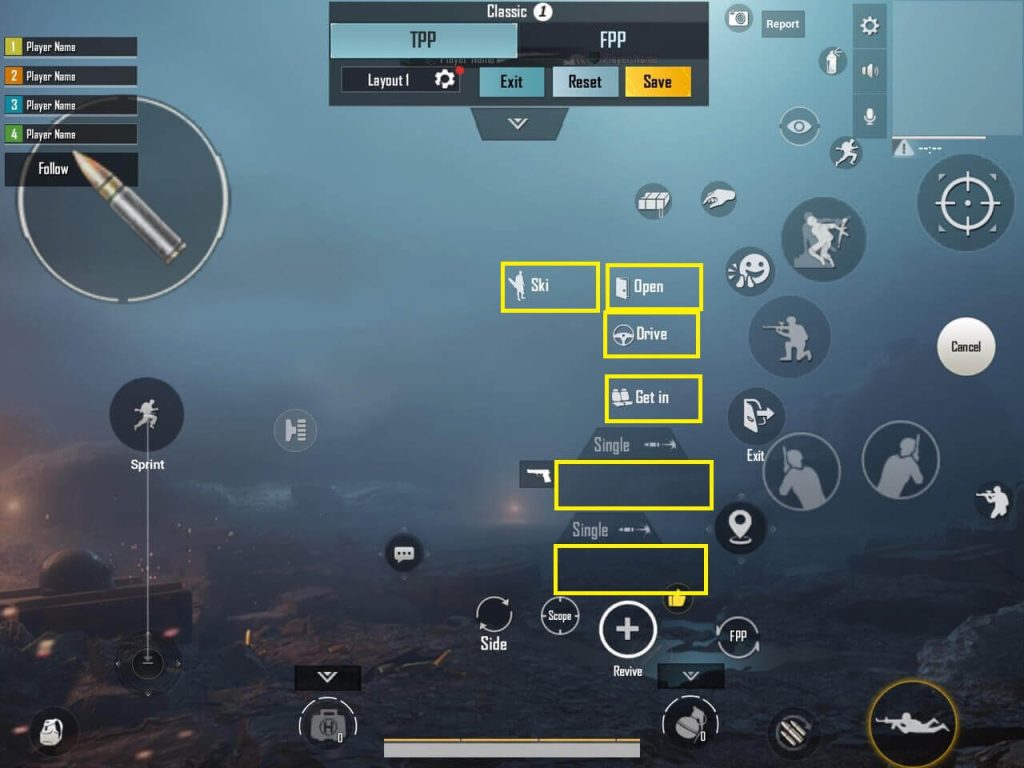
2. The Gyro Claw – Precision Without the Shake
Gyroscope lovers, this one’s for you. The Gyro Claw combines 4‑finger tapping with tilt controls for micro‑adjustments. Your index fingers handle primary actions while your thumbs stay free for gyro aim. The layout keeps the scope and fire on the same side to minimize hand travel. If you’ve struggled with shaky aim in long‑range fights, try this code—it’s a game‑changer for DMR and sniper users. For more options, check out our 4 finger control codes collection.
3. The No‑Gyro Speedster – Maximum Tapping, Zero Tilt
Not everyone loves gyro. The No‑Gyro Speedster uses pure tapping for every action—fire, scope, crouch, jump, and even the scope button. The trick is a compact button layout that puts everything within a thumb’s reach while your index fingers handle the heavy lifting. This code is ideal for players on devices with high touch sampling rates. If you’re on a no‑gyro setup, you’ll want to pair it with a high sensitivity profile.
4. The Tablet King – Optimized for iPads and Android Slates
Bigger screen means bigger buttons—but not too big. The Tablet King spreads the 4‑finger layout across the extra real estate, placing the fire button on the left edge and scope on the right, with map and inventory tucked near the corners. It uses larger touch zones so you don’t miss a tap. This code was designed on an iPad Pro but works on any tablet. For iPad‑specific tweaks, see our ipad pro codes.
5. The Pro Player’s Choice – Inspired by tournament layouts
We studied the HUDs of top streamers and competitive players to reverse‑engineer this code. It features a semi‑transparent fire button that sits slightly off‑center to reduce screen obstruction, and the scope is placed where your left index finger naturally rests. The lean buttons are stacked vertically on the right side for quick peeking. This is the kind of layout that pro player layouts use to win Chicken Dinners consistently.
6. The Jumpshot Maestro – Built for Close‑Quarters Combat
If you live for CQC and love jump‑shooting, this code is your new best friend. The Jumpshot Maestro maps the jump button to the bottom‑right (tapped by your right thumb) while your left index handles fire and right index manages scope. A dedicated crouch button sits near the jump for drop‑shot combos. The result? You can jump, aim, and shoot in one fluid motion. Perfect for SMG and shotgun users.
7. The C2S9 Meta – Optimized for the Latest Patch
With every season, button behavior changes. The C2S9 Meta layout accounts for the latest patch adjustments to scope delay, fire rate, and peek mechanics. It uses a slightly larger scope button to counteract accidental scope‑outs and positions the fire button to avoid blocking the enemy’s head. This is one of the most current updated layouts available, and it’s already helping players push to Ace.
8. The Headshot Hunter – Precision Placement for Tap Fire
DMR and single‑shot AR users, rejoice. The Headshot Hunter isolates the fire button in the top‑left corner with zero dead zone, so every tap registers instantly. The scope is moved slightly higher to keep your view clear, and the aim button is placed on the right index. Paired with a low sensitivity gyro, this code makes those pixel‑perfect headshots feel effortless. Check out more headshot setups for additional inspiration.
9. The Ace Pusher – Aggressive Layout for Ranked Climb
Reaching Ace rank demands speed and versatility. The Ace Pusher places almost every action (peek, fire, scope, crouch, jump, prone) within a finger’s reach without overlapping. It uses a minimalistic button design and a transparent HUD to maximize your field of view. This is the code you want when you’re grinding ranked and need every millisecond advantage—ace push codes like this one are proven to help players break through plateaus.
10. The All‑Rounder – One Code to Rule Them All
Can’t decide on a playstyle? The All‑Rounder is a balanced 4‑finger layout that works for everything: sniping, spraying, CQC, and even driving. It uses a standard claw arrangement but adds extra buttons for grenades, meds, and map. The button opacity is set to 50% to reduce clutter. It’s the go‑to code for players who want a single layout that adapts to any situation without constant tweaking.
There you have it—ten 4 finger layout codes that can take your PUBG Mobile game to the next level. Whether you’re a claw beginner or a seasoned pro looking for a fresh setup, there’s something here for you. Remember: the best layout is the one you practice with. Try a few, tweak the sensitivity, and soon those 4‑finger moves will feel as natural as breathing. Now go grab that Chicken Dinner!