Classic matches are the heart of PUBG Mobile — unpredictable, intense, and rewarding. But to consistently reach the top 10, you need more than luck. You need control codes that give you a split-second advantage in every fight. These aren’t just random layouts; they’re settings refined by hours of gameplay and backed by pro players. I’ve tested dozens of codes across different playstyles and devices, and here are the 10 that made the biggest difference in classic matches. Whether you’re looting in Pochinki or sniping from a hilltop, these adjustments will elevate your game.
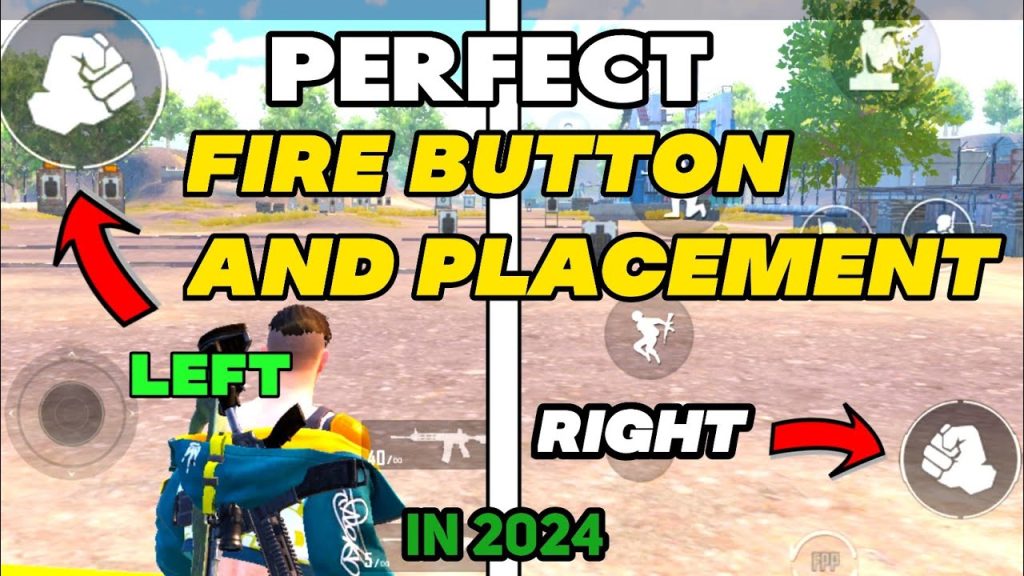
Fire Button Placement: The Foundation of Every Fight
Your fire button position decides how fast you react. For classic matches, place the fire button slightly above the thumb’s natural resting spot. This prevents accidental taps and lets you shoot while strafing. Pro players prefer a larger fire button (around 80% size) with 100% opacity. Also, enable the separate fire button for scoped and hip-fire — it avoids unwanted zoom shots. A common mistake is placing it too low, which causes thumb fatigue. Try setting your left fire button at (X: 25%, Y: 70%) and right fire button at (X: 75%, Y: 65%) on a standard phone. If you use claw, combine this with thumb control codes for claw players to maximize efficiency.
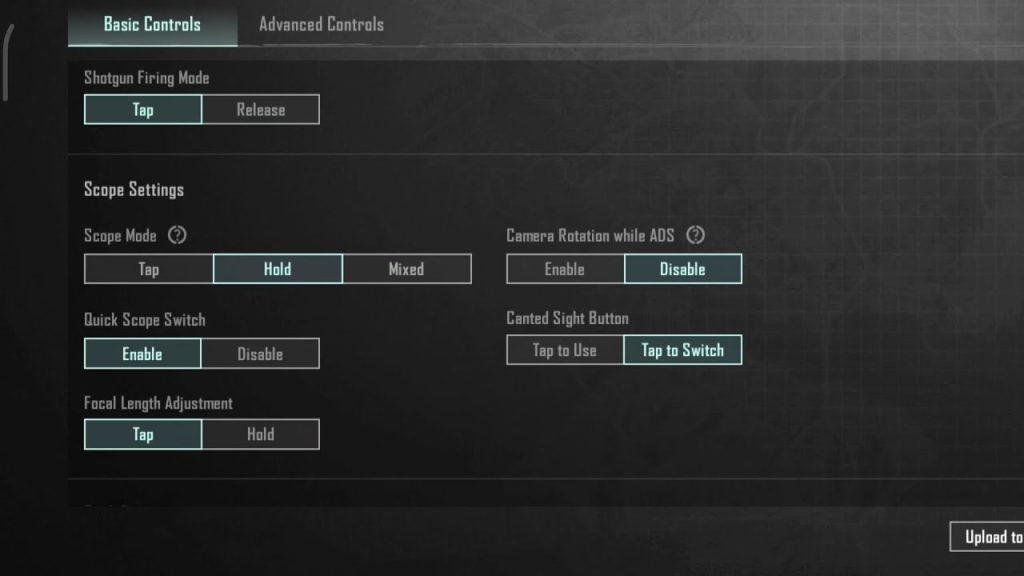
Scope Sensitivity: Lock Onto Targets Faster
Scope sensitivity is crucial for medium to long-range engagements. For classic matches, use a lower sensitivity for 4x and 6x scopes (around 25-30) to keep crosshairs steady, and higher for red dot and holo (around 40-50) for quick flick shots. A golden rule: your 3x scope sensitivity should match your gyro sensitivity for smooth transitions. If you’re using an assault rifle like the M416, refer to close range M416 settings for tailored values. Pro tip: set your camera sensitivity slightly higher than ADS sensitivity to survey areas without losing aim precision.
Gyroscope Settings: Master Micro-Adjustments
Gyroscope is a game-changer in classic matches. It allows you to make fine aim corrections by tilting your device. For beginners, start with gyro enabled only when scoped (set to 100% for all scopes). Advanced players can enable gyro always-on for hip-fire too. A balanced gyro sensitivity for 4x scope is around 200-250, while red dot can be 150-200. The key is to avoid shaking: gradually dial down until your aim feels stable. Combine with competitive control codes used by pros for a proven setup. Remember, gyro works best with a firm grip and a steady surface — practice in the training ground first.
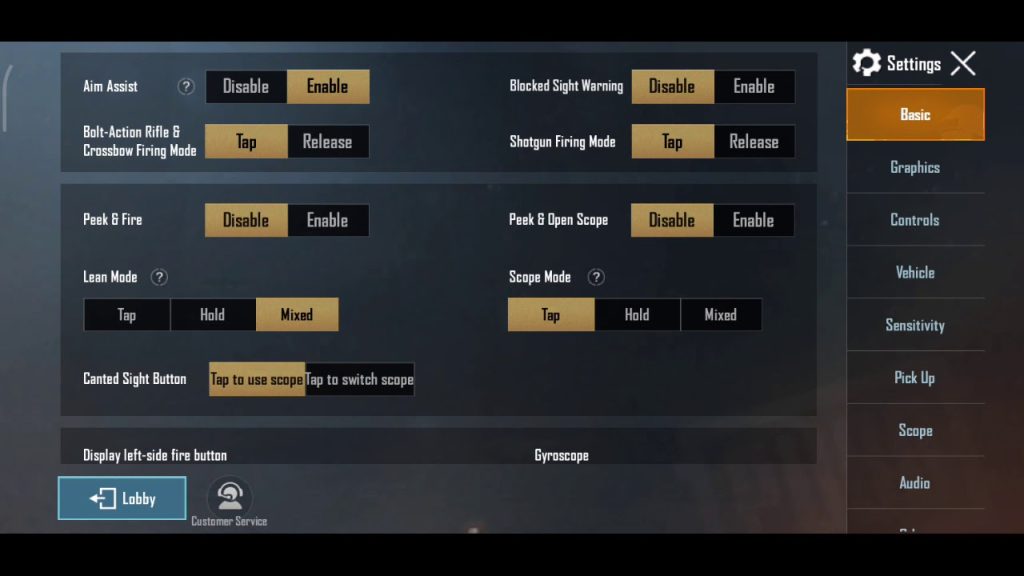
Peek and Fire: The Tactician’s Tool
Using peek buttons correctly can win you fights without taking damage. In classic matches, map peek to buttons you can reach without moving your thumbs — many pros use the left peek on the top-left corner and right peek on the top-right. Enable both peek and fire simultaneously (auto peek is optional). Set peek rotation to 15% so you don’t expose too much. Also, adjust the peek button size to 50% and place them just above the fire button. This lets you peek, fire, and retreat instantly. For squad play, coordinate with squad match control codes to synchronize peeks with teammates.
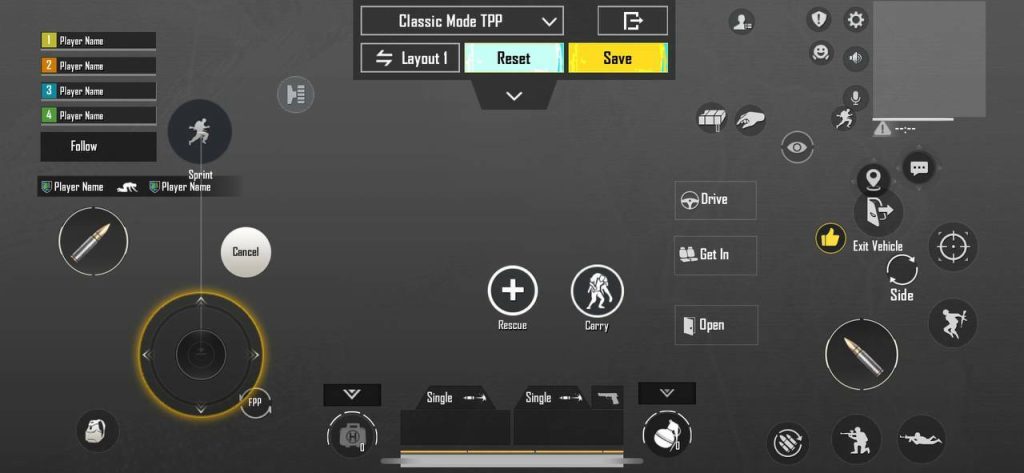
Movement Controls: Strafing, Jiggle, and Slide
Agile movement separates average players from elites. Your joystick should be set to fixed mode with a size of around 60% and position left-center. Enable movement prediction to reduce lag. For advanced moves like jiggle peeking, lower your movement sensitivity to around 80% so you can rock back and forth precisely. Invest time in jiggle movement controls — they make you harder to hit during gunfights. Also, map a dedicated crouch button near your thumb for quick slides. Pro tip: use the sprint button in a separate location (top-left) to avoid accidental runs while looting.
Aim Assist: Friend or Foe?
Aim assist can help track moving targets, but it can also mess up your aim when multiple enemies cluster. For classic matches, set aim assist to ‘Medium’ — it provides a balance without dragging your crosshair too aggressively. Some pros turn it off entirely to rely on raw aim, but for most players, medium is safer. Pair this with your scope sensitivity and gyro to create a smooth tracking experience. If you find aim assist pulling you away from your intended target, lower it further. Remember, aim assist works best with automatic weapons; for snipers like the Kar98k, consider disabling it for precise shots (check the Kar98k one-shot setup guide).
Prone and Crawl: The Underused Survival Skills
Going prone is essential in final circles and open fields. Map the prone button to a spot you can quickly press — many pros place it just below the right peek button. Set crawl speed to maximum (100%) and enable auto-prone when falling from heights? Not recommended, as it can disrupt movement. Instead, use a dedicated prone button with a 50% size and 100% opacity. For crawling in grass, keep your camera sensitivity low to avoid giving away your position. This is especially useful in squad matches where one player goes prone to provide cover fire.
Weapon Swap: Instant Arsenal Switch
Swapping weapons quickly can save your life. Use a two-button layout: one for primary weapon 1 and another for primary weapon 2, placed on opposite sides of the screen. Many pros place them above the health pack buttons. Set button size to 60% and enable weapon auto-pickup? No, manually pick up to avoid clutter. Bind weapon swap to a button that doesn’t interfere with movement — for claw players, this is easy; for thumbs, place it near the right fire button. Practice switching between an M416 and a sniper in the training ground to build muscle memory.
Audio Visualizer: Hear the Battlefield, See the Threats
The audio visualizer is an underrated tool. It shows directional sound cues as nearby footsteps, gunshots, and vehicles. In classic matches, this helps you pinpoint enemies without relying solely on headphones. Enable it in settings and place the visualizer in a corner that doesn’t block your view — top-center is common. Adjust its size to 40% and reduce opacity to 30% so it’s visible but not distracting. This works wonders in squads when callouts are missed. Combine with a good headset for the best results.
Claw Layout: The Ultimate Control Advantage
If you’re ready to push your limits, adopt a claw layout. This uses multiple fingers — typically four or six — to control movement, aiming, shooting, and peeking simultaneously. A 4-finger claw places fire on the top-left, scope on top-right, joystick on bottom-left, and crouch/jump on bottom-right. For classic matches, this layout gives you instant access to all actions without lifting thumbs. Many top players use a 6-finger claw for even faster reactions. If you’re new to claw, start with the thumb control codes for claw players as a foundation, then gradually add fingers. It takes time but pays off massively in close-quarter battles.
These 10 control codes cover every aspect of a classic match — from the moment you parachute to the final chicken dinner. The best part? You can mix and match based on your playstyle. Start with the fire button and scope sensitivity, then integrate gyro and movement controls. Practice each setting in the training ground before jumping into a match. Remember, consistency is key: once you find a setup that feels right, stick with it. For more specialized codes, check out our guides on competitive control codes used by pros and squad match control codes. Now get out there and dominate Erangel!