If you’re grinding ranked in PUBG Mobile, you know that control codes are the secret sauce between chicken dinner and a quick lobby. Pro players spend hours tweaking every sensitivity slider, claw layout, and gyro angle to gain that millisecond edge. I’ve dug through tournament streams, pro config dumps, and community forums to bring you 10 competitive PUBG control codes that actually work in 2025. These aren’t random numbers—they’re battle-tested settings used by top-tier players. Whether you’re a four-finger claw god or a gyro enthusiast, there’s something here for you.
1. The 4-Finger Claw Layout (Gyro + Scope Toggle)
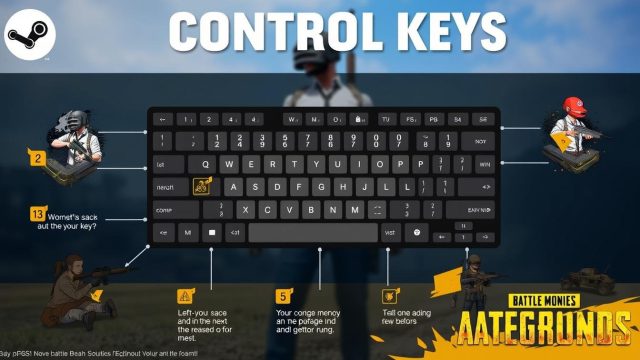
Most competitive players use a 4-finger claw setup with gyroscope enabled for fine aim adjustments. The key is separating the fire button from the scope button so you can pre-aim while hip-firing. Try this control code: place your right index finger’s fire button on the top-left corner of the screen (size 80%, opacity 100%) and your left index’s scope button on the top-right. Set gyro sensitivity to 300% for red dot and 30% for 6x scope. This layout lets you quick-peek and spray without lifting fingers. If you’re new to claw, check out our 60fps device control codes guide for a smoother transition.
2. Gyroscope Sensitivity for Spray Control
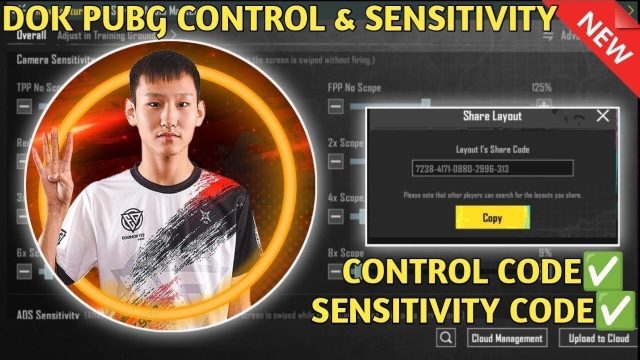
Gyro is a game-changer for recoil control, especially on LMGs like the DP-28. Competitive players often set their third-person camera and ADS gyro to the same value to maintain consistency. A popular code: third-person no scope gyro = 280%, red dot/holo = 300%, 2x scope = 260%, 3x scope = 200%, 4x = 150%, 6x = 80%. This gradual drop-off lets you micro-adjust without overcorrecting at range. For more on LMG sprays, see our PUBG control codes review of DP-28 settings.
3. Quick Scope Sensitivity for Snipers
Quick scoping requires a high sensitivity that snaps to the target but doesn’t overshoot. Pro players use a 6x scope with its sensitivity set to 40–50% and the ADS sensitivity multiplier at 70. The trick is to use a separate button for scope magnification toggle—bind it to a dedicated spot on the screen. This allows you to instantly switch between 1.5x and 4x without fumbling. If you often miss those snap shots, a low DPI mouse-like setting works better: set the camera sensitivity to 100% and ADS to 150%.
4. Close-Range Spray Pattern Tuning
In close quarters, you want a flat recoil pattern with minimal vertical climb. Competitive players use a custom ADS sensitivity between 80–90% and a gyro of 400% for hip-fire sprays. The code: set your vertical sensitivity multiplier to 1.2 and horizontal to 0.8. This counteracts the game’s natural upward recoil, keeping your bullets clustered on center mass. Pair this with a 2x scope (sensitivity 100%) for that perfect blend of speed and accuracy. If you’re a rusher, our rush player control codes guide has more aggressive setups.
5. Movement Optimization (Strafing & Crouch Spam)
Movement is as important as aim. Pros map crouch and jump to dedicated buttons (often left index for crouch, right thumb for jump) and set movement dead zone to 0 for instant response. A popular code: left-side joystick size 70%, opacity 80%, and position at the very edge of the screen. This allows for wider thumb movements without blocking view. Turn on ‘Run and Fire’ mode so you can sprint while spraying. For more movement tricks, our better movement control codes article covers advanced sidestepping.
6. Scope Magnification Quick Switch
In a competitive match, you need to switch between scopes without breaking line of sight. The control code: map the scope magnification button (toggle between 1.5x, 2x, 3x, etc.) to a dedicated button on your left index finger, right next to your scope button. Set the button size to 50% and opacity to 60% so it doesn’t clutter the screen. Also, assign the ‘reset scope’ action to a double-tap of the fire button. This eliminates the need to open the inventory mid-fight. If you’re having trouble applying these settings, our control codes cannot apply fix might help.
7. Peak Fire & Lean Buttons
Peek and lean are essential for cover shooting. Pros use three separate buttons: lean left, lean right, and peak fire (which combines lean and fire). Place the lean buttons on the bottom left and right corners (size 100%, opacity 70%) and the peak fire button in the center top area. Set the combined peak fire action to your right thumb for fast reaction. This setup lets you peek while shooting without extra input. Many tournament players also enable ‘auto lean’ when scoped, but manual gives better control.
8. Parachute Control & Free Look
Dropping fast and spotting enemies early gives a huge advantage. Competitive players set their parachute sensitivity to 50% (lower than default) to prevent oversteering, and map the free-look toggle to a button on the left side of the screen. The code: free look button size 40%, opacity 100%, positioned near the mini-map. When gliding, you can rotate the camera without changing your descent direction. Also, set your ‘look around’ speed to 200% for quick scanning. A proper drop can secure a weapon before anyone else lands.
9. Grenade Throw Arc & Quick Equip
Grenades can turn the tide, but only if you can aim them fast. Pros use a dedicated throwable button (not cycle) that directly selects grenades. The code: bind the grenade slot to a button on your right index finger (size 60%, opacity 90%). Also, enable the ‘throw arc’ display and set its sensitivity to 70% for precise lobs. For quick equip of smoke/ stun, assign separate buttons for each type. This prevents accidentally pulling a frag when you need a smoke. Practice your arc in training grounds until it feels automatic.
10. Map & Ping Optimization
Communication is key, and efficient pinging saves time. Competitive players shrink the map to 50% and move it to the top center of the screen. The control code: enable ‘tap to ping’ on the map, and set a dedicated ‘enemy spotted’ ping button on the right side (size 30%, opacity 50%). Also, map the ‘cancel ping’ to the same button to avoid clutter. For quick marking, use a two-finger tap on the map for a danger mark. These tiny adjustments reduce finger travel and keep you focused on the action.
These 10 competitive PUBG control codes cover the essentials that pro players rely on every match. Remember, while copying a code can give you a head start, the real magic comes from tweaking it to your muscle memory. Spend 15 minutes in the training ground after applying each layout, and don’t be afraid to adjust sensitivity by 5% increments. For a deeper dive into settings validation, check our ADS sensitivity settings guide, and if you ever lose your layout, our PUBG control codes review can help you recover. Now get out there and dominate—your chicken dinner is waiting.