So you’ve mastered 4 finger claw and now you’re ready for the big leagues? 5 finger control codes are the next step for serious PUBG Mobile players. Using five fingers lets you aim, shoot, scope, crouch, and peek simultaneously—no more fumbling. We’ve scoured pro layouts and tested them to bring you the best 5 finger control codes for every playstyle. Each entry in our control codes list is optimized for speed and accuracy, whether you’re an aggressive rusher or a patient sniper. Read on to find your perfect match.
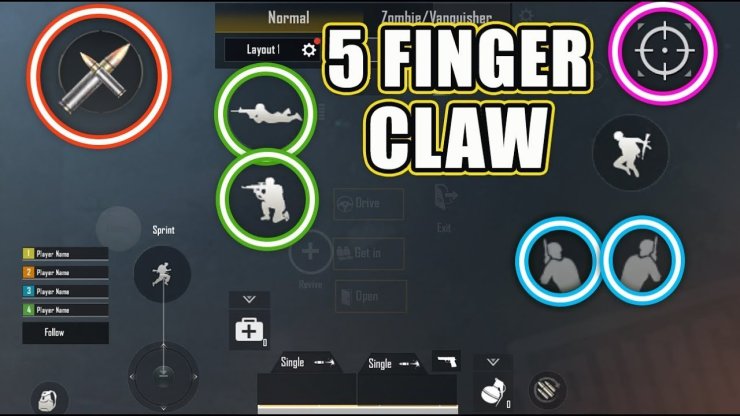
1. The Classic 5 Finger Claw
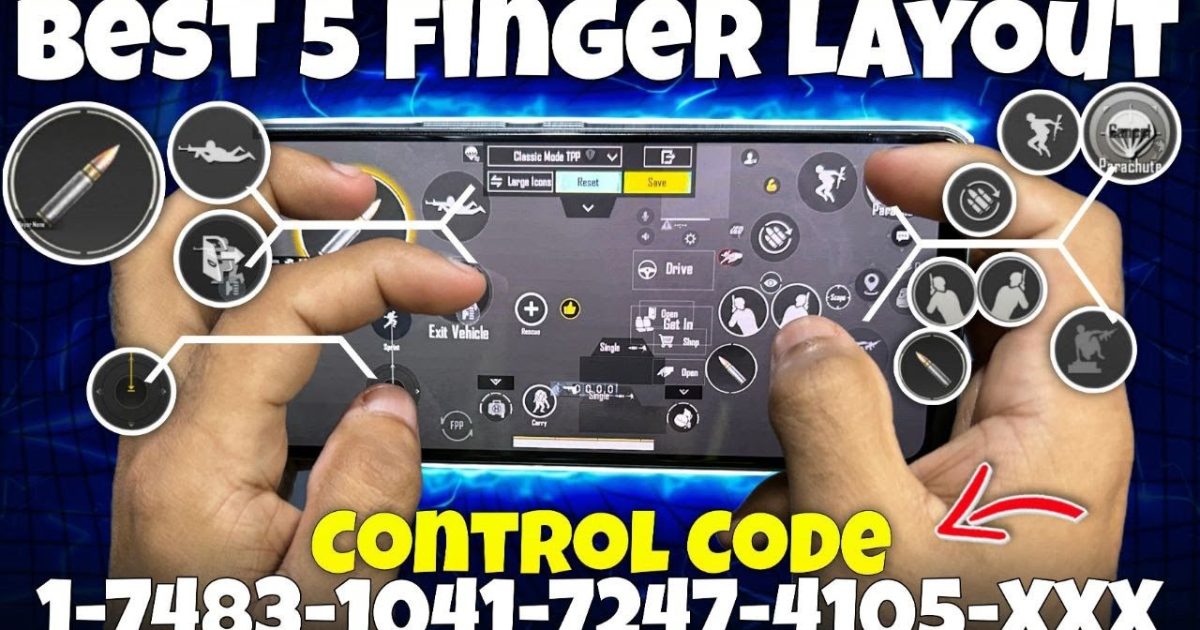
This is the bread and butter of 5 finger setups. Your thumbs handle movement and camera, while your index and middle fingers take care of shooting, scoping, and crouching. The ring finger is often used for prone or grenades. The classic layout keeps everything intuitive—left side for movement, right side for actions. We recommend placing fire and scope buttons on the top corners for easy reach. Check out our finger placement layouts for a visual guide. This code is perfect for players transitioning from 4 finger who want a natural upgrade.
2. The 5 Finger Gyro Hybrid
Gyro aiming can be a game-changer, but using it with all five fingers takes practice. This layout maps gyro to scope-only mode, so you tilt your phone for fine adjustments while your fingers handle movement and taps. The code sets gyro sensitivity high for scope and low for hip fire. Combine with our recommended gyro control codes to get that pro feel. You’ll love the precision during long-range sprays. Just remember to adjust your camera settings to avoid overcorrection.
3. The 5 Finger TPP Domination Layout
Third Person Perspective (TPP) is the default view for most players, and this layout is built for it. With five fingers, you can keep your thumb on the joystick, your left index on the scope button, and your right hand handling fire, peek, and crouch. The code increases the TPP camera sensitivity so you can swing around quickly in close fights. We’ve also included auto-peek for a split-second advantage. Don’t forget to tweak your camera settings if you feel stuck.
4. The 5 Finger Sniping Setup
For those who love one-shot kills, this layout prioritizes scope stability and quick aim. Your right thumb and middle finger control the scope and fire buttons, while your left hand manages movement and lean. The control code tightens aim assist and sets a low vertical sensitivity to reduce scope sway. Pro tip: map the ‘breath hold’ button to a convenient spot like your left index finger. This code works great with the latest HUD layouts from top snipers.
5. The 5 Finger Spraying Beast
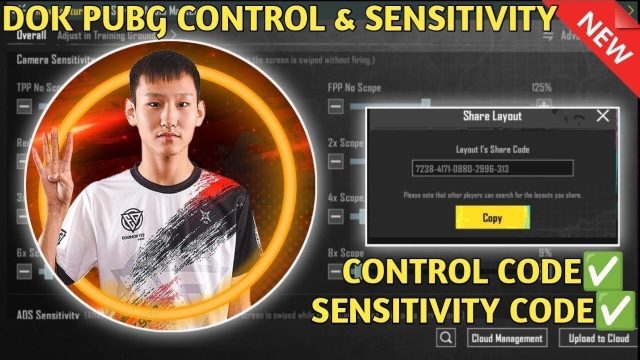
Close-range spraying demands rapid finger movements. This layout places fire and scope on separate fingers so you can shoot without waiting. The right hand uses three fingers: index for scope, middle for fire, ring for gyro or crouch. Left hand handles movement and peek. The code increases fire button size and reduces dead zone for faster response. Pair this with a low sensitivity for recoil control. For a full walkthrough on importing, refer to our full guide to importing.
6. The 5 Finger with Peek and Fire on Same Side
Many pros favor having peek and fire on the same side to eliminate thumb movement. This layout puts both buttons on the right side: your index finger peeks, middle finger fires. The left side remains for movement and scoping. It takes some getting used to, but the speed boost is real. The code also auto-saves peek settings for each scope. If you’re a right-handed player, this might become your new favorite. Explore finger placement layouts for alternative arrangements.
7. The 5 Finger with Separate Crouch and Prone Buttons
Crouching and proning are vital for dodging and ambushing. This layout gives each action its own dedicated finger: left index crouches, left middle goes prone, right thumb aims, right index shoots. The code maps crouch to a slide gesture for quick spamming. Pro players use this to drop-shot effectively. Size the buttons slightly larger to avoid misses. Check out our control codes list for similar layouts optimized for movement.
8. The Quick Scope 5 Finger Layout
Quick scoping isn’t just for shotguns—it works wonders with DMRs too. This layout places the scope and fire buttons close together on the right side, controlled by the index and middle fingers. The code enables ‘scope on tap’ and ‘fire on release’, making your scope-shot instantaneous. Gyro sensitivity is set to high during scope for that last-second flick. For more on gyro integration, see our gyro control codes.
9. The iPad Optimized 5 Finger Layout
If you’re on an iPad, you have more real estate to work with. This layout spreads the buttons wide to prevent accidental presses. Your thumbs cover the lower half, while three fingers handle the top. Buttons are stretched vertically for easy reach. The code includes larger joystick areas for thumbs. iPad players often prefer lower sensitivity due to the bigger screen. Check out our camera settings recommendations for iPad.
10. The 5 Finger with Smart Auto-Pickup Tweaks
Looting mid-fight can be a pain with many fingers. This layout adjusts auto-pickup ranges and button sizes to ensure you grab items quickly without switching grips. The code sets ‘pickup radius’ to 200% and disables auto-swap for attachments. You’ll also find the inventory button placed near your thumb for easy access. For a complete look at all our codes, browse the full control codes list.
Whether you’re a claw veteran or just starting with five fingers, these control codes will elevate your gameplay. The key is practice—try each layout in training mode before hopping into ranked. Remember, the perfect setup is the one that feels natural for you. Bookmark this page and experiment with different combinations. If you need help importing codes, our full guide to importing has step-by-step instructions. Now go dominate those chicken dinners!