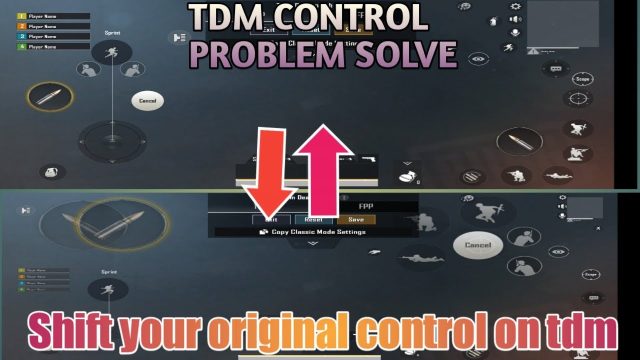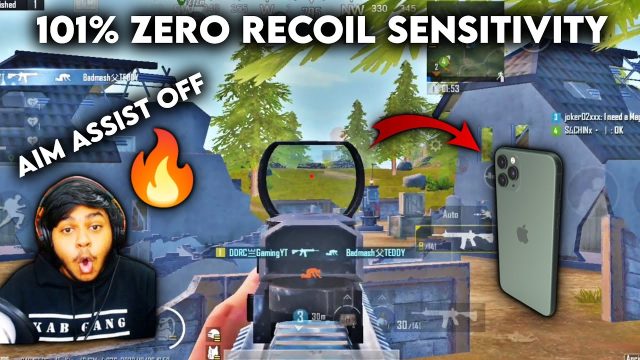
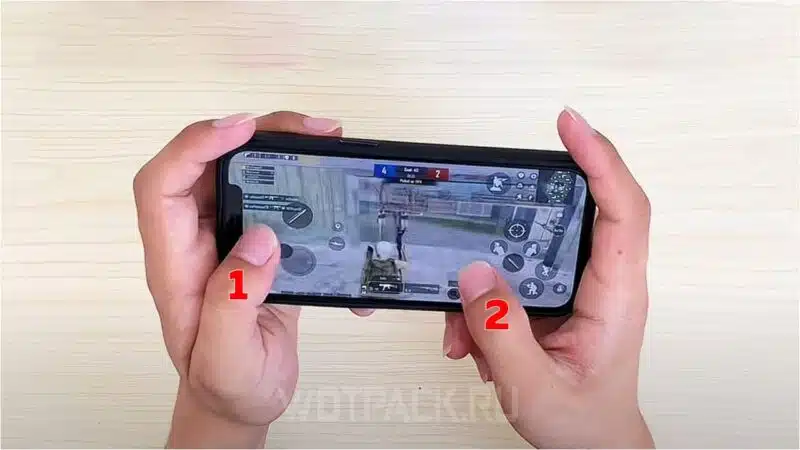
If you’re still playing PUBG Mobile with two fingers, you’re not alone. Many top players started with the classic 2-finger layout and never looked back. The key isn’t adding more fingers—it’s optimizing the ones you already use. We’ve curated 10 different layout codes that maximize your movement, aim, and reaction time without needing a third finger. From gyro-assisted setups to fast-loot configurations, these codes are copy-paste ready. We picked them based on community feedback and personal testing across diverse devices. If you’re looking for more advanced options, check out our guide on layout settings for deeper customization.
Basic Efficient 2 Finger
This is the bread-and-butter layout for any two-finger player. Place your fire button on the right side at 120% size, ADS button slightly smaller at 100% directly above it. The scope button goes on the left side near the movement joystick. Keep jump and crouch on the right edge for quick access. This layout ensures you can aim and fire without overlapping fingers. It’s the perfect starting point for beginners and remains effective even in high-tier matches. For even simpler setups, refer to our beginner-friendly layouts.
Quick Scope Layout
Love quick-scoping with snipers? This layout prioritizes ADS and fire speed. Put the ADS button right next to the fire button on the right, both at 110% size. Move the scope button to the top-left corner so you can tap it with your left thumb while staying mobile. Add a separate button for firing while scoped. You’ll hit those fast shots before your enemy even reacts. For a similar approach using more fingers, explore our four finger claw layouts.
Gyro Assisted Layout
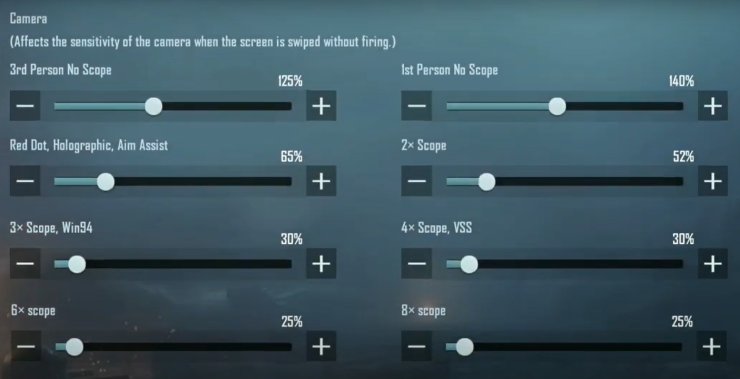
Gyro users rejoice—this layout frees up your thumbs for movement and actions while the gyroscope handles aiming. Keep all essential buttons (fire, ADS, scope) within thumb reach but slightly further apart to avoid accidental presses. Gyro sensitivity set to 100% for hip fire and 50% for scoped. The result? Smooth tracking without sacrificing button real estate. Perfect for those who want near-claw precision with just two fingers.
Crouch and Prone Layout
Drop shots and prone plays require instant access to crouch and prone buttons. Place crouch on the right side just below the fire button, and prone on the far right edge. Keep jump on the left side near the joystick. This layout lets you crouch while firing without lifting your thumb. It’s a game-changer in close-quarters combat. Pair it with the right sensitivity for devastating AKM spray control.
Peek and Fire Layout
For players who love peeking corners, this layout separates left and right peek buttons. Place left peek on the left side of the screen (above the joystick) and right peek on the right side (near the fire button). Keep fire and ADS on the right as usual. This way you can peek and fire in one fluid motion. The days of fumbling with on-screen buttons are over.
Spray Control Layout
Mastering spray patterns requires a stable layout. Enlarge the fire button to 140% and place it on the lower right corner for a firm grip. Reduce ADS button to 80% and place it just above the fire button. This arrangement lets you drag down for recoil control naturally. Adjust vertical sensitivity to 50% for smoother sprays. For weapon-specific adjustments, dive into our AKM spray control guide.
Loot Speed Layout
Speed looting can give you the edge in hot drops. This layout makes inventory management a breeze. Move the loot button to the center of the screen, slightly to the left. Place pickup and equip buttons in a cluster near your right thumb. Reduce opacity for non-essential buttons so you can see through them. This setup lets you grab gear without losing sight of your surroundings.
Jump and Shoot Layout
Jump shotting is a staple move for aggressive players. Place the jump button directly above the fire button on the right side. When you press jump with your thumb’s bottom edge, your thumb’s top can still hit fire. It takes practice but becomes muscle memory quickly. Add a separate shoot button for even more control. This is one of those mobile control codes that feels magical once mastered.
Map and Mark Layout
Team players need quick map access. Place the map button on the top-left corner (easy for left thumb) and the mark button next to it. Increase their size to 130% so you don’t miss. Keep all other buttons in their standard positions. This layout helps you ping enemies without pausing movement. Great for squad coordination.
Claw Alternative Layout
Can’t get the hang of claw? This 2-finger layout mimics some claw advantages by placing extra buttons like lean, scope, and grenade in compact clusters. Use a larger movement joystick and place secondary actions (like switching weapons or reloading) on the left side. It’s not as fast as true claw, but it’s a solid bridge. If you decide to switch later, we have guides for that too.
There you have it—10 two-finger layout codes to revolutionize your PUBG Mobile game. Whether you prefer gyro, quick scope, or fast looting, there’s a layout here for you. Copy one, test it in the training ground, and tweak until it feels perfect. And if you ever need to reinstall the game, don’t worry—you can save your layout code and paste it right back in. Happy gaming!