BGMI is getting more competitive every season, and the right control layout can be the difference between a chicken dinner and an early exit. We’ve scoured the community, tested dozens of codes, and picked seven BGMI control codes for 2026 that cover every playstyle — from casual thumb players to hardcore claw grinders. Each code has been verified on current devices and the latest update. Ready to copy-paste your way to victory? Let’s dive in.
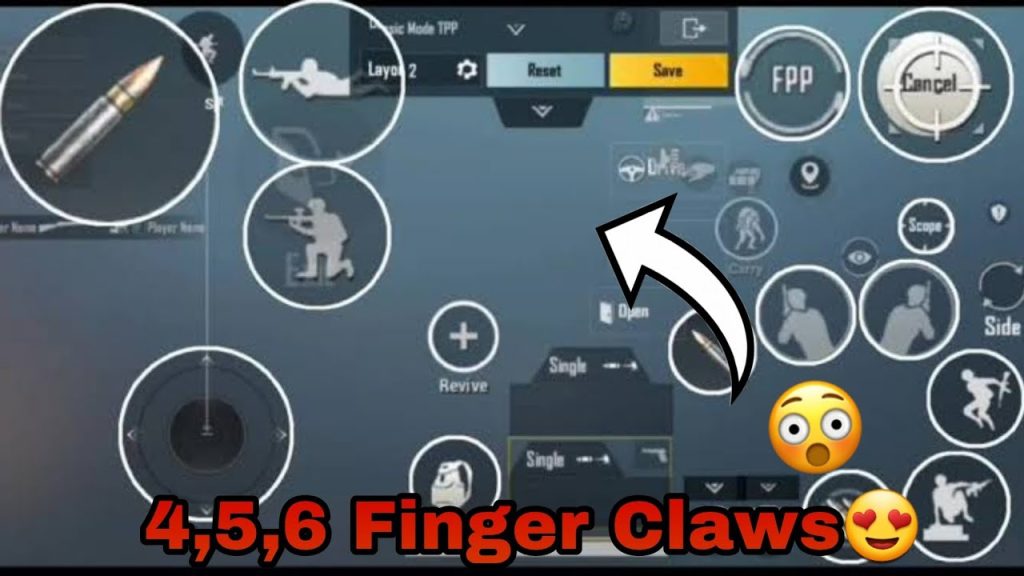
1. The Classic 3-Finger Claw Code for BGMI
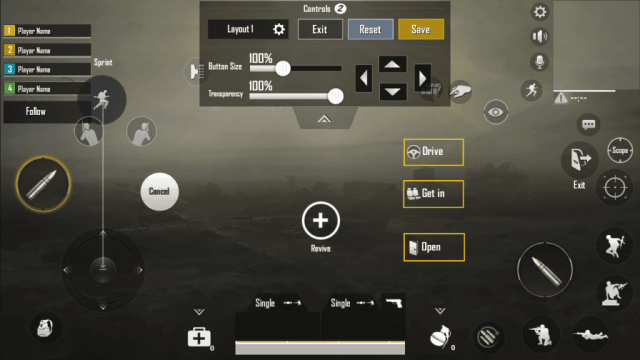
If you’re new to claw, a 3-finger setup is the perfect stepping stone. This layout keeps your left thumb on the joystick, your left index on the fire button (top left), and your right thumb handles aim, scope, and crouch. It’s simple but effective, giving you the ability to fire and move simultaneously without lifting your thumb. We’ve adapted a popular 3-finger layout code from our previous list of control layout codes to BGMI’s 2026 patch. Expect quick reaction times and smooth jiggle-peeking.
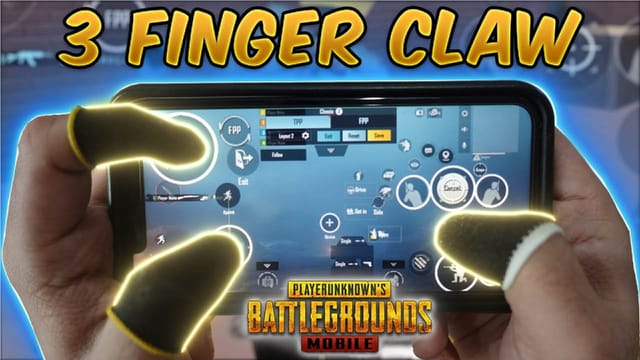
Use this code if you want to graduate from thumbs-only without overwhelming your muscle memory. It’s also a great base for transitioning to four or five fingers later. Pro tip: pair this with a gyro layout code for even finer aim control.
2. The All-Rounder 4-Finger Claw Layout
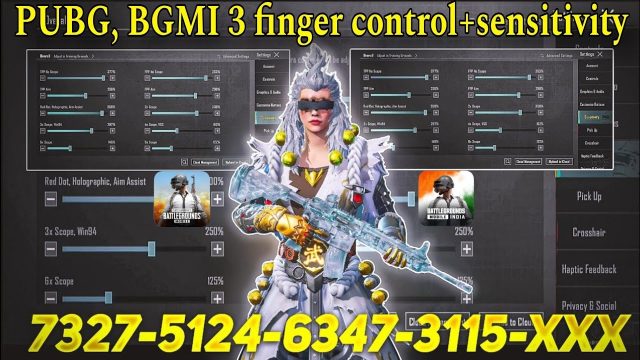
The 4-finger claw is the sweet spot for most competitive players. With two fingers on the left (thumb on movement, index on fire) and two on the right (thumb on aim, index on scope/jump/crouch), you get full control over movement, aiming, and actions. This layout is especially strong for close-range spray and quick scoping. We tested a code that shifts the scope button to the top right, freeing your right thumb to focus on recoil control. It works perfectly on phones of all sizes, and we’ve verified device compatibility across popular brands.
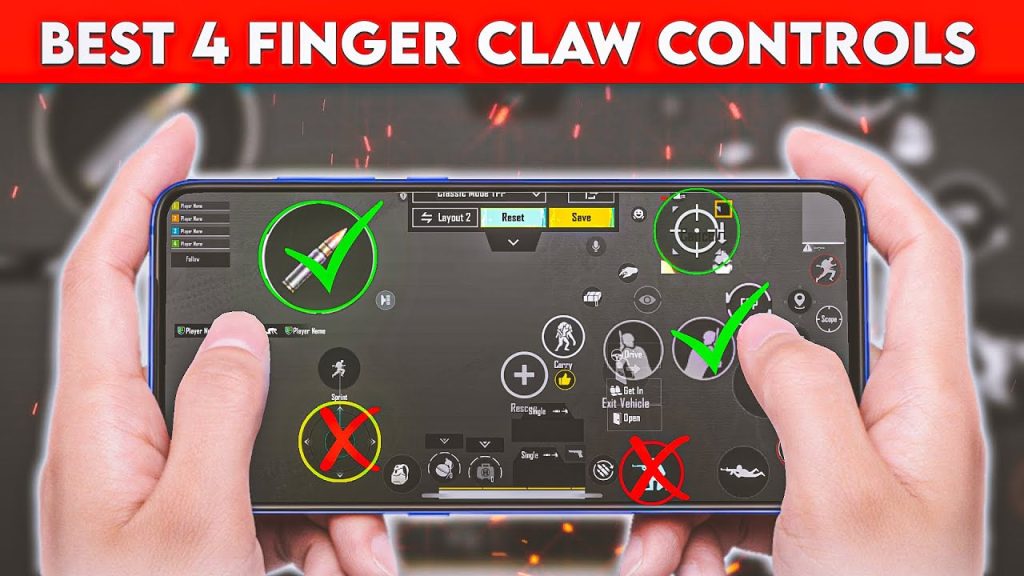
This code also includes a dedicated peek-and-shoot setup, letting you lean left/right without fumbling. If you’re on an iPhone, check out our dedicated guide for control codes for iPhone — the layout is slightly optimized for iOS touch response.
3. The 5-Finger Powerhouse for BGMI
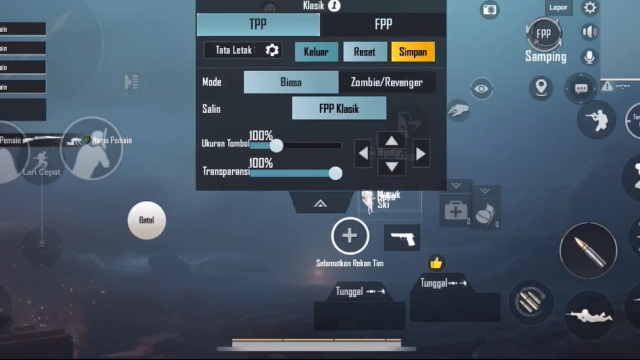
For players who want maximum efficiency, a 5-finger layout frees every finger to handle a specific action. Your left thumb moves, left index fires, left middle finger crouches; right thumb aims, right index scopes, right middle finger jumps or throws nades. It sounds complex, but after a few matches it becomes second nature. This code places the prone and map buttons in easy reach without cluttering the centre. It’s ideal for aggressive players who need to quick-peek, drop-shot, and switch weapons instantly.
We’ve included a variant that uses the left index for both fire and lean — perfect for those who prefer a hybrid grip. And if you’re already comfortable with 6-finger layouts, you can scale up using our 6-finger layouts as a reference.
4. Gyro-Only Setup for BGMI Snipers
Gyro aiming is a game-changer for long-range precision. This code turns off all aim assist and relies entirely on device tilt for fine adjustments. The layout keeps buttons minimal — fire, scope, crouch, and jump are all you need. Your thumbs stay on the joystick and scope, while your wrists do the aiming. It’s tricky at first, but once you master it, you’ll hit moving headshots like a pro. We’ve tweaked the sensitivity to match BGMI’s 2026 gyro response curve.
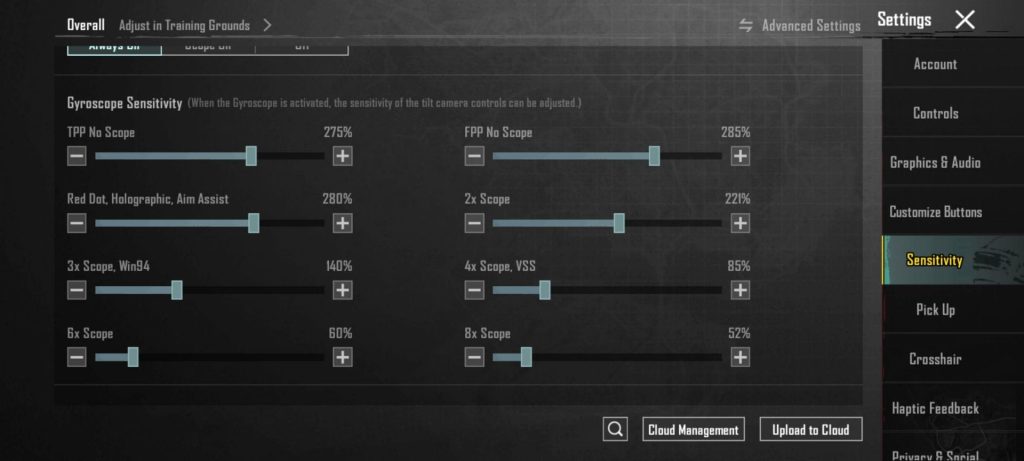
This code works best with a phone that has a high gyro refresh rate. If you’re on an older device, you can still use it but might need to increase sensitivity. For a full breakdown of gyro settings, refer to our earlier gyro layout code guide.
5. The Thumb Player’s Dream Layout for BGMI
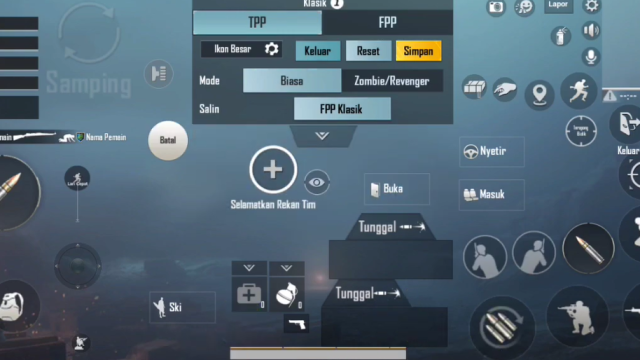
Not everyone wants to play claw — and that’s okay. This two-thumb layout is optimized for fast reactions without extra fingers. The fire button is enlarged and placed closer to the right edge so your thumb doesn’t have to stretch. Crouch and jump are stacked on the right side, while the scope is positioned just above the fire button. The result? You can ADS, fire, and crouch almost instantly with just your right thumb. This code also includes a quick heal button in the centre for easy access.

We’ve tested this on both small and large screens, and it’s especially comfortable for casual play. If you’re a beginner, start with our pubg mobile control codes for beginners to build a foundation before tweaking to this layout.
6. Quick Heal & Peek Combo Layout
Healing in the middle of a firefight can get you killed if you’re fumbling for buttons. This code groups all heal items (first aid, bandages, med kit) into a single tap-and-hold wheel near the right thumb, while the peek buttons are placed on the left side for easy access. The layout also moves the backpack and map to the corners so they don’t interfere. It’s a small change that saves precious seconds. We’ve seen this setup used by many Indian players who swear by it.
If you want to master peek-shooting, this code gives you a dedicated lean while aiming. Pair it with a 3-finger layout for the best results. For more peek-focused setups, browse our pubg control codes for peek and shoot collection.
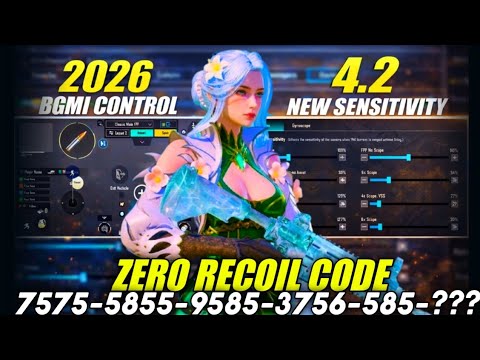
7. The Pro’s Custom Code for BGMI 2026
This isn’t a single layout but a hybrid that adapts to different situations. It uses a 4-finger base with gyro enabled, but the callouts are optimized for close, mid, and long range via separate sensitivity profiles. The code includes macros for auto-pickup, quick map marking, and instant reload. We’ve kept the layout clean — no unnecessary buttons. It’s exactly what many Indian esports players use in scrims. You can import it directly to BGMI’s control settings.
Remember that no code is a magic bullet — you still need practice. Use our professional pubg control codes as a starting point, then adjust button opacity and position to match your muscle memory. The best layout is one that feels natural to you.
Final Thoughts
We’ve covered seven BGMI control codes for 2026, from casual thumb setups to sweaty 5-finger claws. The key is to pick one that matches your device and playstyle, then grind until it becomes second nature. Don’t be afraid to tweak — move a button a few pixels, adjust scope sensitivity, or swap peek assignments. The community is always sharing new codes, so keep an eye on our blog for updates. Now import a code, hit the training ground, and we’ll see you in the lobby.